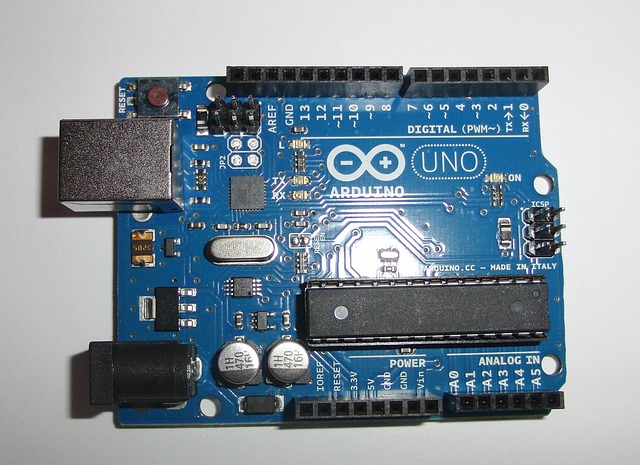
Arduino Uno is a Microcontroller based board. It is also an user friendly and open source hardware and software based electronics platform. That is where, beginners can do there own projects easily by knowing some basic knowledge about Arduino board.

Why it is termed as Arduino Uno?
In Italian language “Uno” means one. The name taken to release the version 1.0 of Arduino Software(IDE). The version 1.0 of Arduino Software(IDE) and Uno board were the reference version of Arduino. Then it goes to the new release.
Uses of Arduino Uno
The Arduino Uno software and hardware is mainly designed for those who are just started to make creative projects, mini-projects or IOT based projects. Arduino Uno can read the input data and gives the output by writing a particular program for a particular project on Arduino software. It can interact with many interfaces like Light sensor, Ultrasonic sensor, Motors, LEDs, Speakers or many more. It can read the inputs by observing Light on a Light-sensor, obstacle in front of Ultrasonic sensor or a fingers on a button and convert it into a output like starting a motor, turning on an LED, unlock the things.
Components on board
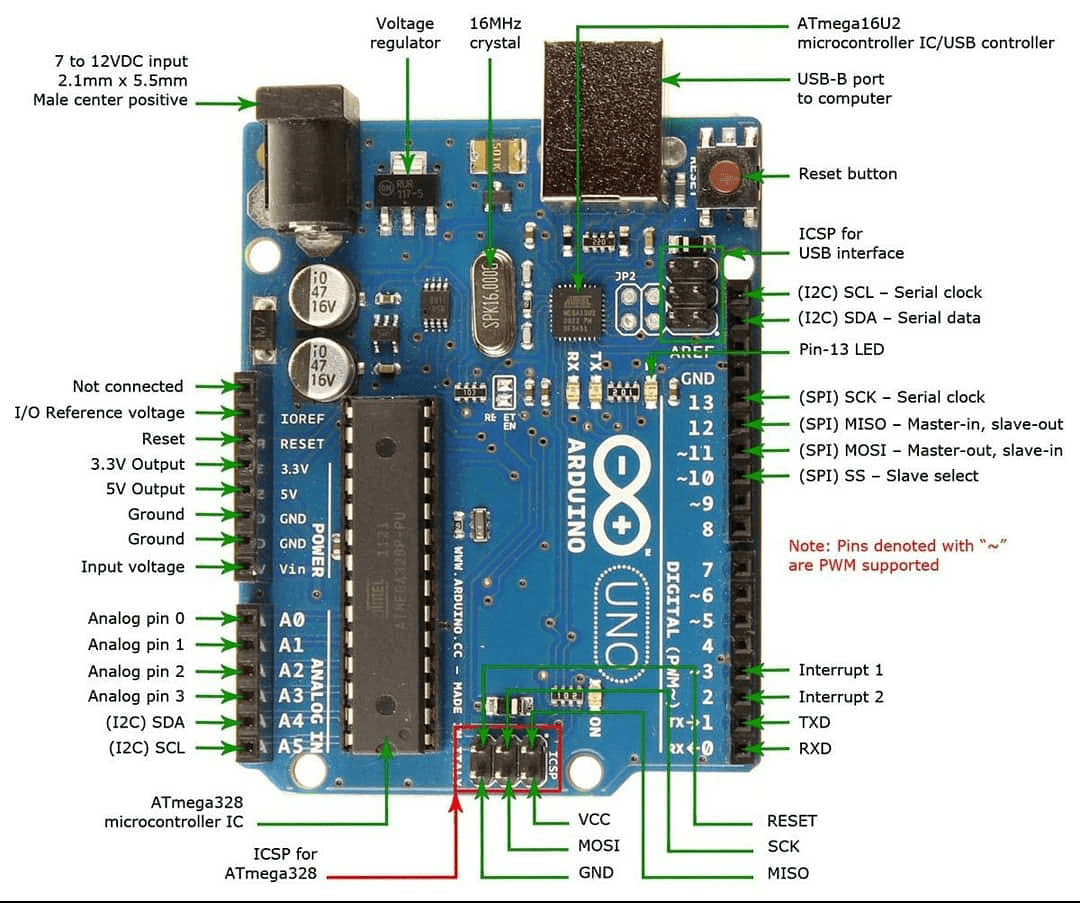
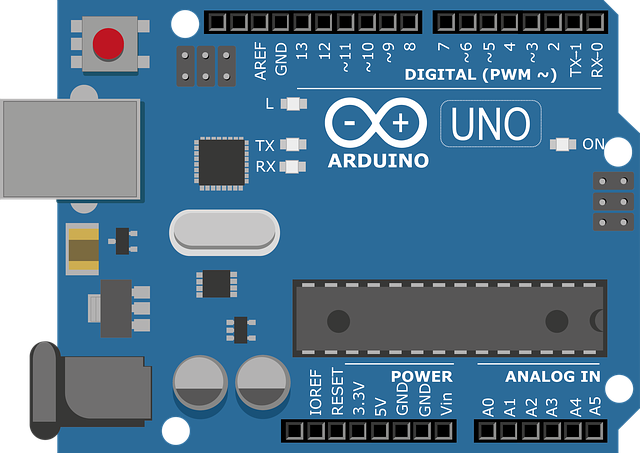
There are different of major components used in an board, which are discussed below
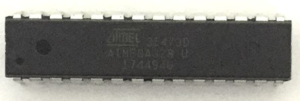
ATMEGA328p
ATMEGA328p is an 8-bit AVR microcontroller. It is a high performance, low power controller and its belongs to AVR (Advance Virtual RISC) family. It has 28 pins. Out of 28 pins 23 are I/O programmable lines and works on +1.8V to +5.5V. This is the brain of our Arduino board.

Power supply(USB/Barrel Jack)
We have two option to supply the power to the board. One is USB port and another one is Barrel Jack. From USB port we can supply the power as well as transfer the data from our PC or Laptop. But in case of Barrel Jack we can only supply the power.
Reset button
Reset button is mainly use to restart the uploaded program on Arduino board. Sometimes program doesn’t repeat itself, at that time we use the reset button to restart the program.
Voltage Regulator
A Voltage regulator is used to regulate the voltage level. It controls the amount of voltage that we give to the Arduino board. Voltage regulator is a kind of gatekeeper, who doesn’t allow the extra amount of voltage to enter into the board. It has the limits, so don’t try to supply the more than 20 volts. Because the excessive amount voltage will burst the Microcontroller.
16 Mhz Crystal
Crystal oscillator provide the clock signal to microcontroller (ATMEGA328p).
LED Indicators
In an Arduino board we can see there is 4 LEDs are present. Here all the 4 LEDs are used for different purpose:
- The green LED light marked with ON, which indicates that the Arduino has power. When the green LED stop shining that’s mean you have a short somewhere.
- The yellow LED light marked with L, and it is connected to pin 13. So when you set pin 13 to HIGH the LED lights up.
- The rest of 2 LEDS are marked with Tx and Rx, which indicates the transmitting and receiving the data.
Pin Description

Arduino Uno Programming
- Using IDE Software the programming can be done on arduino. The microcontroller on board comes with pre-burned by boot loader that permits to upload fresh code without using exterior hardware programmer.
- The communication of this can be done using a starter kit STK500 protocol.
- We can also upload the program by avoiding the boot loader using the header like ICSP (In-Circuit Serial Programming).
Finally we sorted the basic info about Arduino uno board. From above information we can conclude that it is the most frequently and user friendly used board. It is a great choice for beginners to start any project in a cheap price and they can also replace the microcontroller.
We are very glad to share our knowledge through this articles. We’ll upload more articles just like that. The only thing we are trying to make a good bond with you. Just stay & learn with us.


This Blog is really Helpful for Beginners who have no idea regarding it.